|
| Tutorial for a finished 12 inch block |
This week in the
Skill Builder Sampler we are going to use English paper piecing to make our block. English paper piecing is a great way to deal with shapes that require inset seams. Of course, it does mean sewing by hand, but I think English paper piecing is the perfect project to bring to soccer games, the beach or to work on while you are waiting for all of those end of year concerts and school assemblies to start.
When you English paper piece, you baste the fabric to a piece of paper and then whip stitch the edges together. There are many ways to baste and sew, but I will show you my personal favorite way to English paper piece - perfected in the piecing of
this quilt (80 inches square now!!!)
............
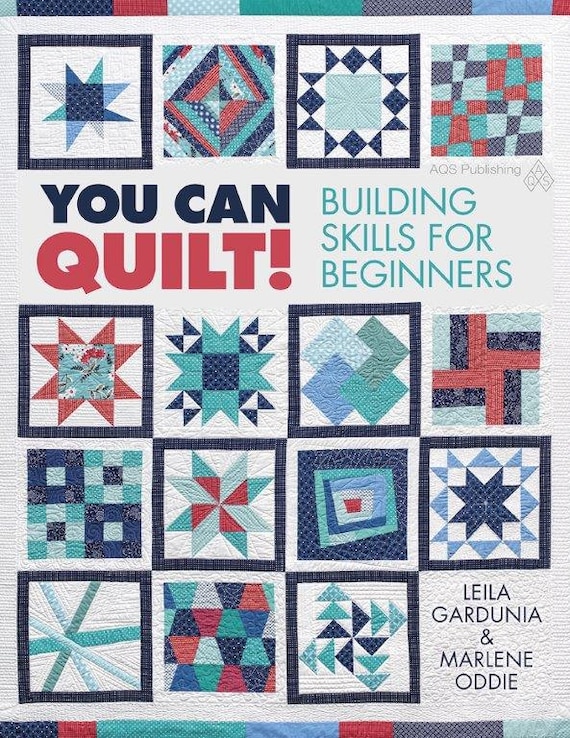
Edited (5/15): The Skill Builder Sampler will is available for purchase in book form! It has been renamed "You Can Quilt! Building Skills for Beginners" but covers the same skills with the easy, medium and challenging blocks and is a million times better than the original quilt along. It is perfect for the beginning quilter or the experienced quilter who wants to branch out and learn new skills. Find more information and order a signed copy in my Etsy shop or order on Amazon .
. ...................
Making the Templates The first step is to make paper templates. Some people use regular paper, but I prefer card stock - it isn't as wobbly. If you are doing a large quilt sized project I would highly recommend ordering pre-cut hexagons from
Paper Pieces. They carry a variety of pre-cut shapes (diamonds, apple cores, diamonds, etc). My local quilt store also carries them. But for this project we will only need 7 hexagons -- a very reasonable amount to cut out.
To print out the hexagons onto a piece of card stock, go to
Incompetech. Change the hexagon size to 1.25 inches (this is the length of each side), download and print. The lines are faint - esp if you print on aqua card stock. :) Cut out 7 hexagons.
Cutting and Basting
Pick out fabric for the petals, center, stem and leaves.
Place the paper template on a scrap of fabric and cut the fabric approx 1/4 inch larger than the template on all sides. Repeat for the 6 petal and 1 center hexagons.
When cutting out hexagon fabric in bulk, I like to rotary cut rectangular pieces of fabric and then trim off the corners with scissors.
To baste the fabric to the template, fold the edge of the fabric around to the back of the template on one side. With a needle and thread, sew through the fabric and template and bring the needle out the front. I like to knot my thread so it doesn't accidentally get pulled out.
Fold the fabric on the adjoining side of the hexagon over. Make a nice neat fold with the fabric. Hold in place with your fingers.
Make a stitch through the folded corner fabric. Pull tight.
Continue to fold the fabric over and stitch in down in the corners. When I first started basting I would make a few stitches on each side of the hexagon, but it really isn't necessary.
As you fold the fabric over the back for the last three sides make sure the fabric is pulled firmly (not tightly) across the front of the template. When you have made your way around the whole hexagon simply cut off the thread about 1/2 inch from the last stitch.
Repeat this process for all 7 hexagons.
SewingTake two adjacent hexagons and place them right sides together. Take one stitch at the corner of the hexagons. Go straight through both pieces of fabric, but do not stitch through the template, just catch the edge of the fabric.
Pull the thread through and take another stitch. Enter the fabric on the same side as the first stitch so that the thread crosses both layers of fabric. Holding two pieces of fabric together like this and sewing by putting the needle through the same side of the fabric each time is called
whip stitching.
I like to tuck the tail of the thread under the first few stitches so it is firmly secured and out of the way, but this is optional.
Continue whip stitching the hexagons together all the way down the length of the hexagon. I average about 18 stitches to a side, but anything between 12 and 20 is just fine.
True confession time: I give my husband a hard time because when he builds something out of wood it is beyond sturdy -- it is insane sturdy -- but I do the same thing with my sewing. While it is not really necessary, I like to reinforce the corners of the hexagons by doing a little stitch knot. Simply make a stitch, but before you pull the thread snug, slip the needle through the hole and pull.
Pick up the next hexagon in line (the center) and hold it in the correct position to the others. Flip it over on top of one of the hexagons - right sides together.
Start whip stitching along that side.
Again, sturdy me likes to start with a little stitch knot.
Whip stitch to the end and add the next piece. Keep on going until you run out of thread.
When you start to get short on thread, make two stitch knots. You can trim the thread off at the knot, but for extra obsessive security, I like to take a stitch back about 1/4 of an inch and then trim (in all honesty, I usually take two large stitches back).
Trim the thread and you are done. But there is that pesky little bit of sewing that still needs to be done on that edge. I hate starting and stopping so here is a trick I devised.
Start at the end of the hexagon edge and sew back towards your stitches. When you reach the part you have already sewn simply make a few large stitches until you reach the center again.
Two or three stitches will take you back to the center and you can keep on adding hexagons.
It doesn't really matter what order the hexagons are sewn together. At some point though, you will have to sew two edges together when there is already another hexagon attached to them. This makes it hard to lay the hexagons flat together. Just hold the very edges together and let the adjacent hexagon bow out as you stitch. I don't like to fold the adjacent hexagon in half - it wears out the templates faster - which is significant in a larger sized project when you reuse the templates.
Keep on stitching until you have made a little flower shape - one central hexagon surrounded by 6 petals.
From the scrap card stock cut out two leaf shapes. Yup - just cut them out yourself - they don't have to be the same size.
Place on fabric and cut the fabric 1/4 inch larger on all sides.
Baste the fabric around the leaf. There will be some gathering on the sides, but that is ok.
Carefully fold over the point and stitch.
Et voila!
Repeat for both leaves. The great thing about English paper piecing is that you can do it anywhere. I cut out fabric, took pictures and sewed up to this point while sitting at one of the little kid tables at the library. Not too shabby for a morning at the library with the kids.
Applique
To make the stem, cut a piece of fabric 1.25 x 7 inches long. Press under both sides so that the strip is approx. 1/2 inch wide.
Press the hexagon flower and leaves well. Use starch - you want the folds to stay in when you take out the basting stitches.
Remove basting stitches. I like to slip a pin or needle under the long stitches on the front of the hexagons and just pull them out. When making a larger project, you can remove the paper templates as soon as hexagons are sewn on all sides of the hexagon.
Place the flower, stem and leaves as desired on a 12.5 inch square piece of background fabric. Pin well.
I had a piece of coordinating ribbon that I used instead of fabric for the stem. I also think a piece of ric rack would look great as a stem.
Zig zag around the edges of the flower, stem and leaves in a coordinating thread color. Trim off the end of the stem if necessary.
That's it! You are done. Next week you will be able to choose whether to use inset seams or English paper piecing to make block #36. Can you believe there are only 4 more blocks in the
sampler!!!